Need an Installer?
If you have limited access to tools or are short for time, we’ve got you covered! View our list for recommended installers here.
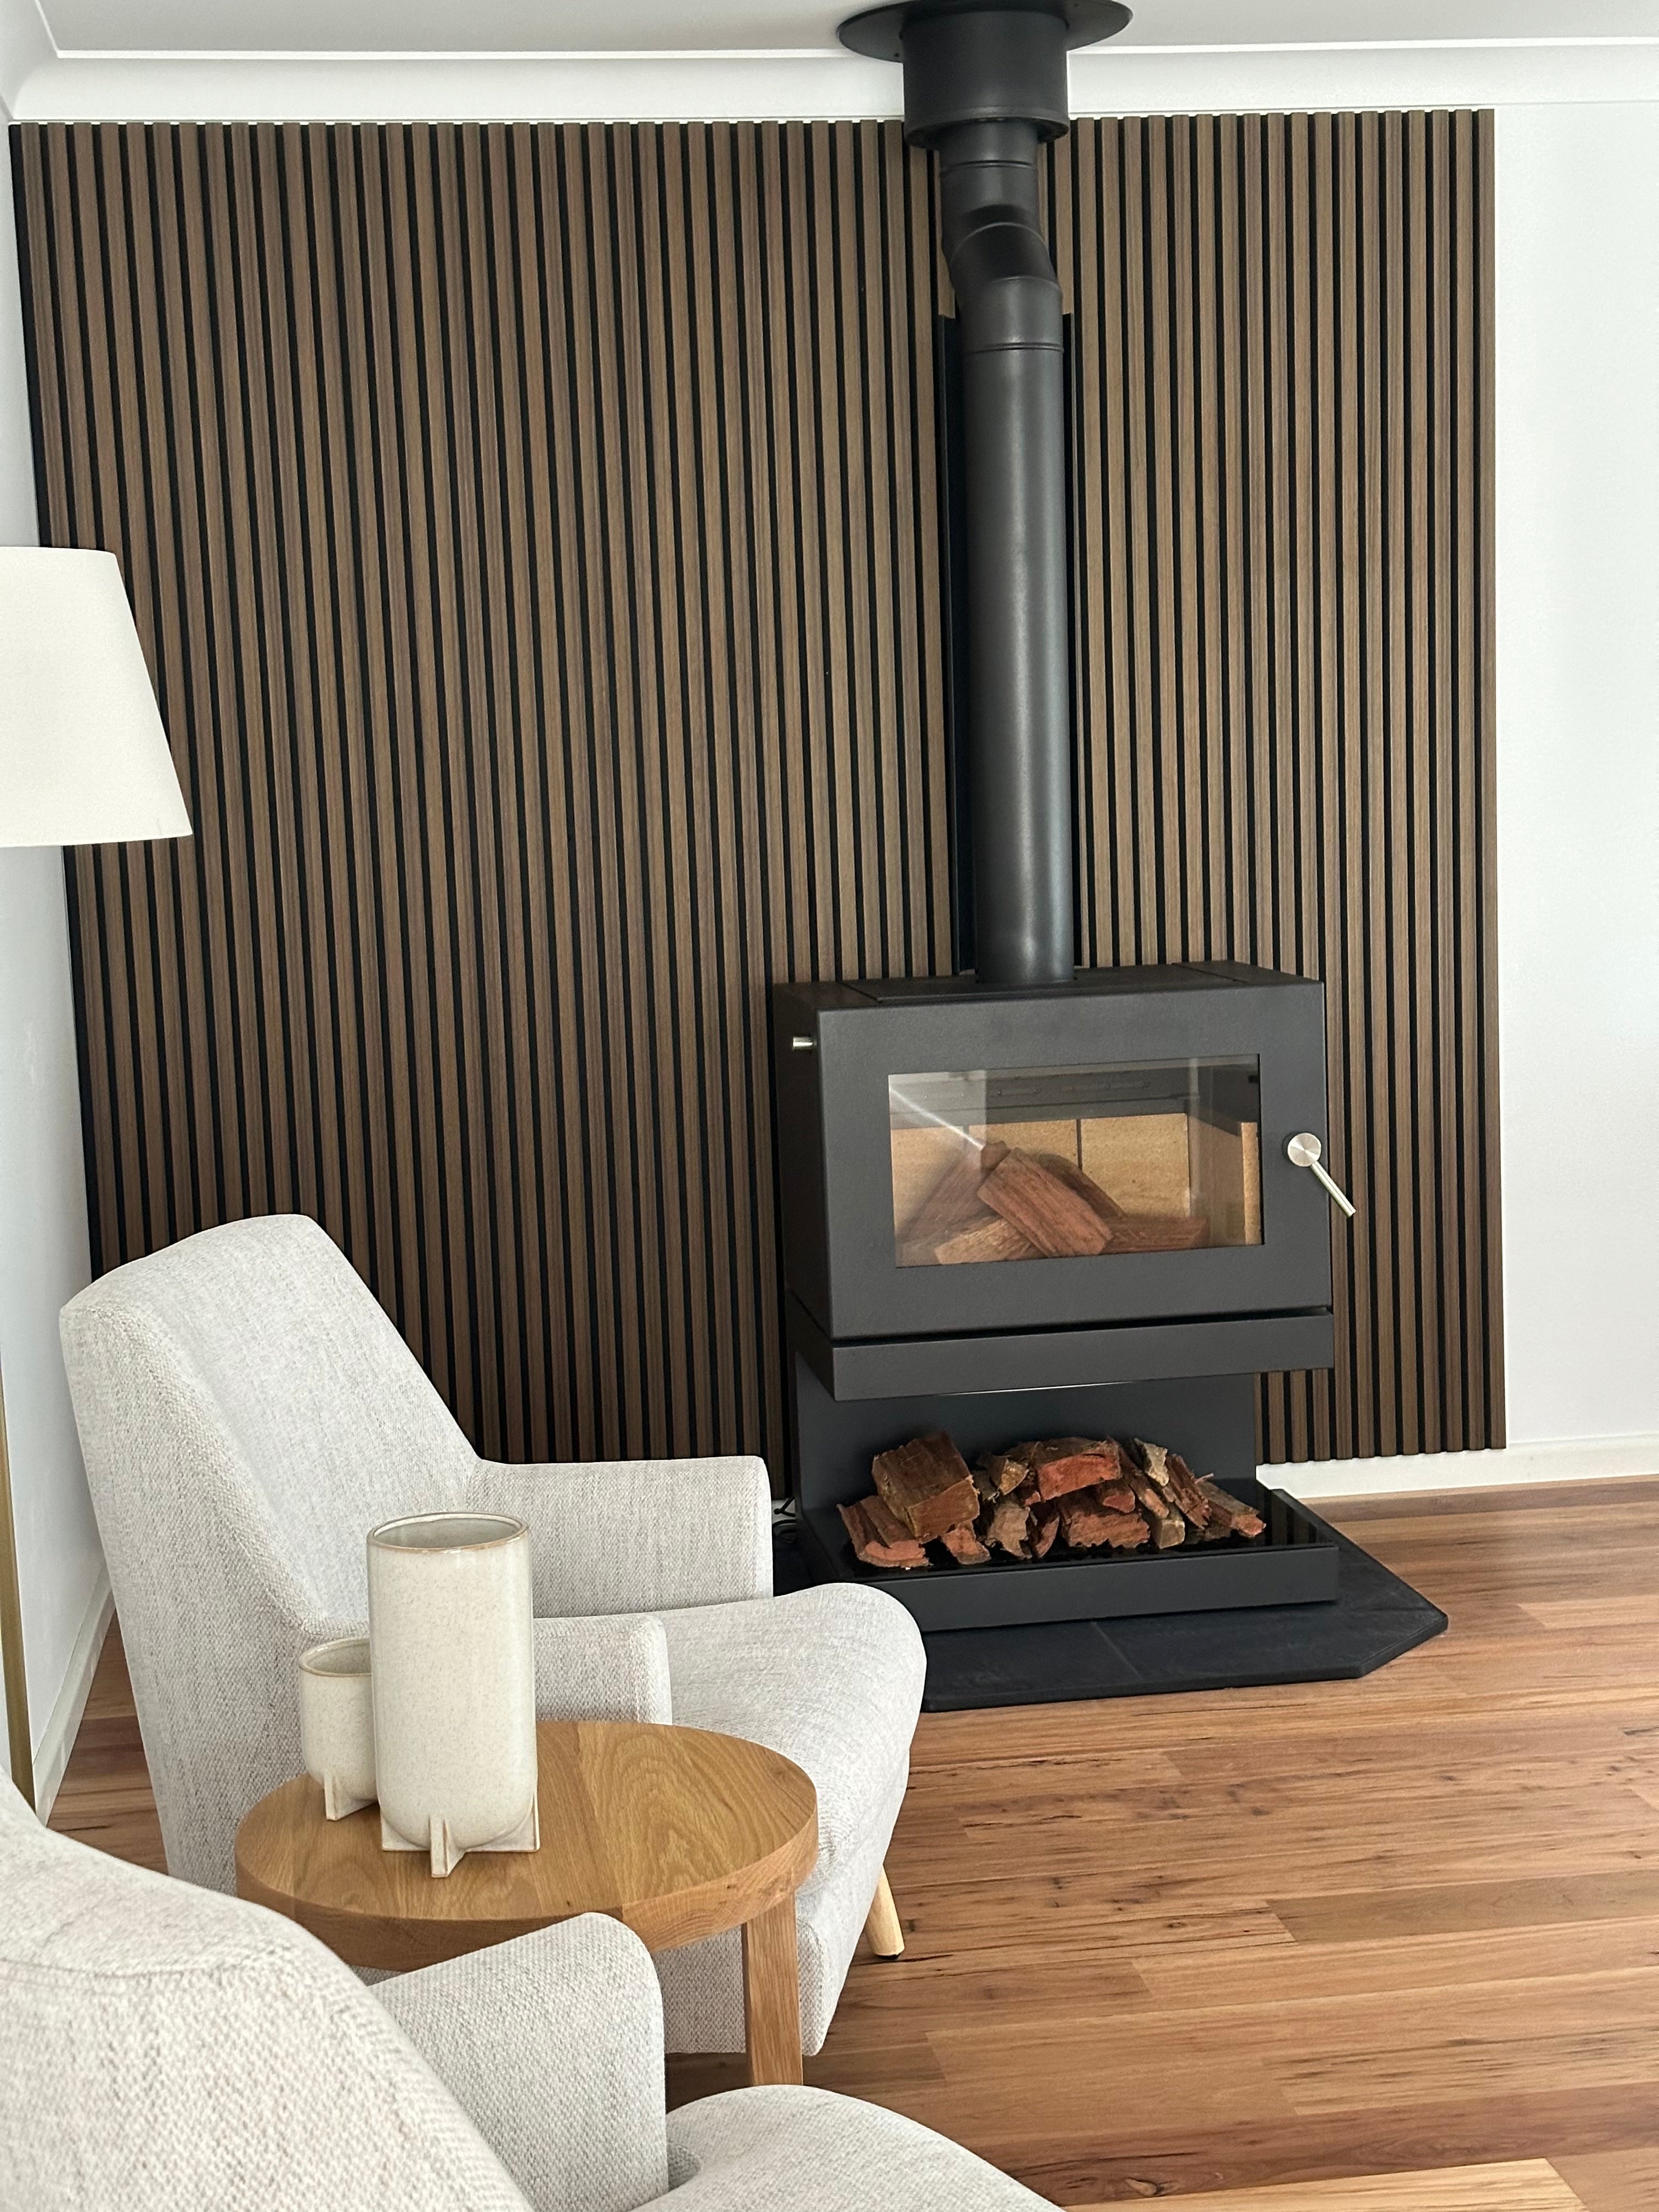
Locate InstallerLuxpanels are the ideal DIY project, even for beginners. With quick and easy installation, you'll be amazed at how effortlessly you can transform your space. Elevate your interiors with our stunning indoor acoustic panels, making every room a canvas for your creativity.
To complete your indoor panel install, you will need the following tools and equipment. See tools here.
HOT TIP For beginners, paint a black borderline around the edge of your project wall. This is if you cut your panel too small and more forgiving when you paint it black.
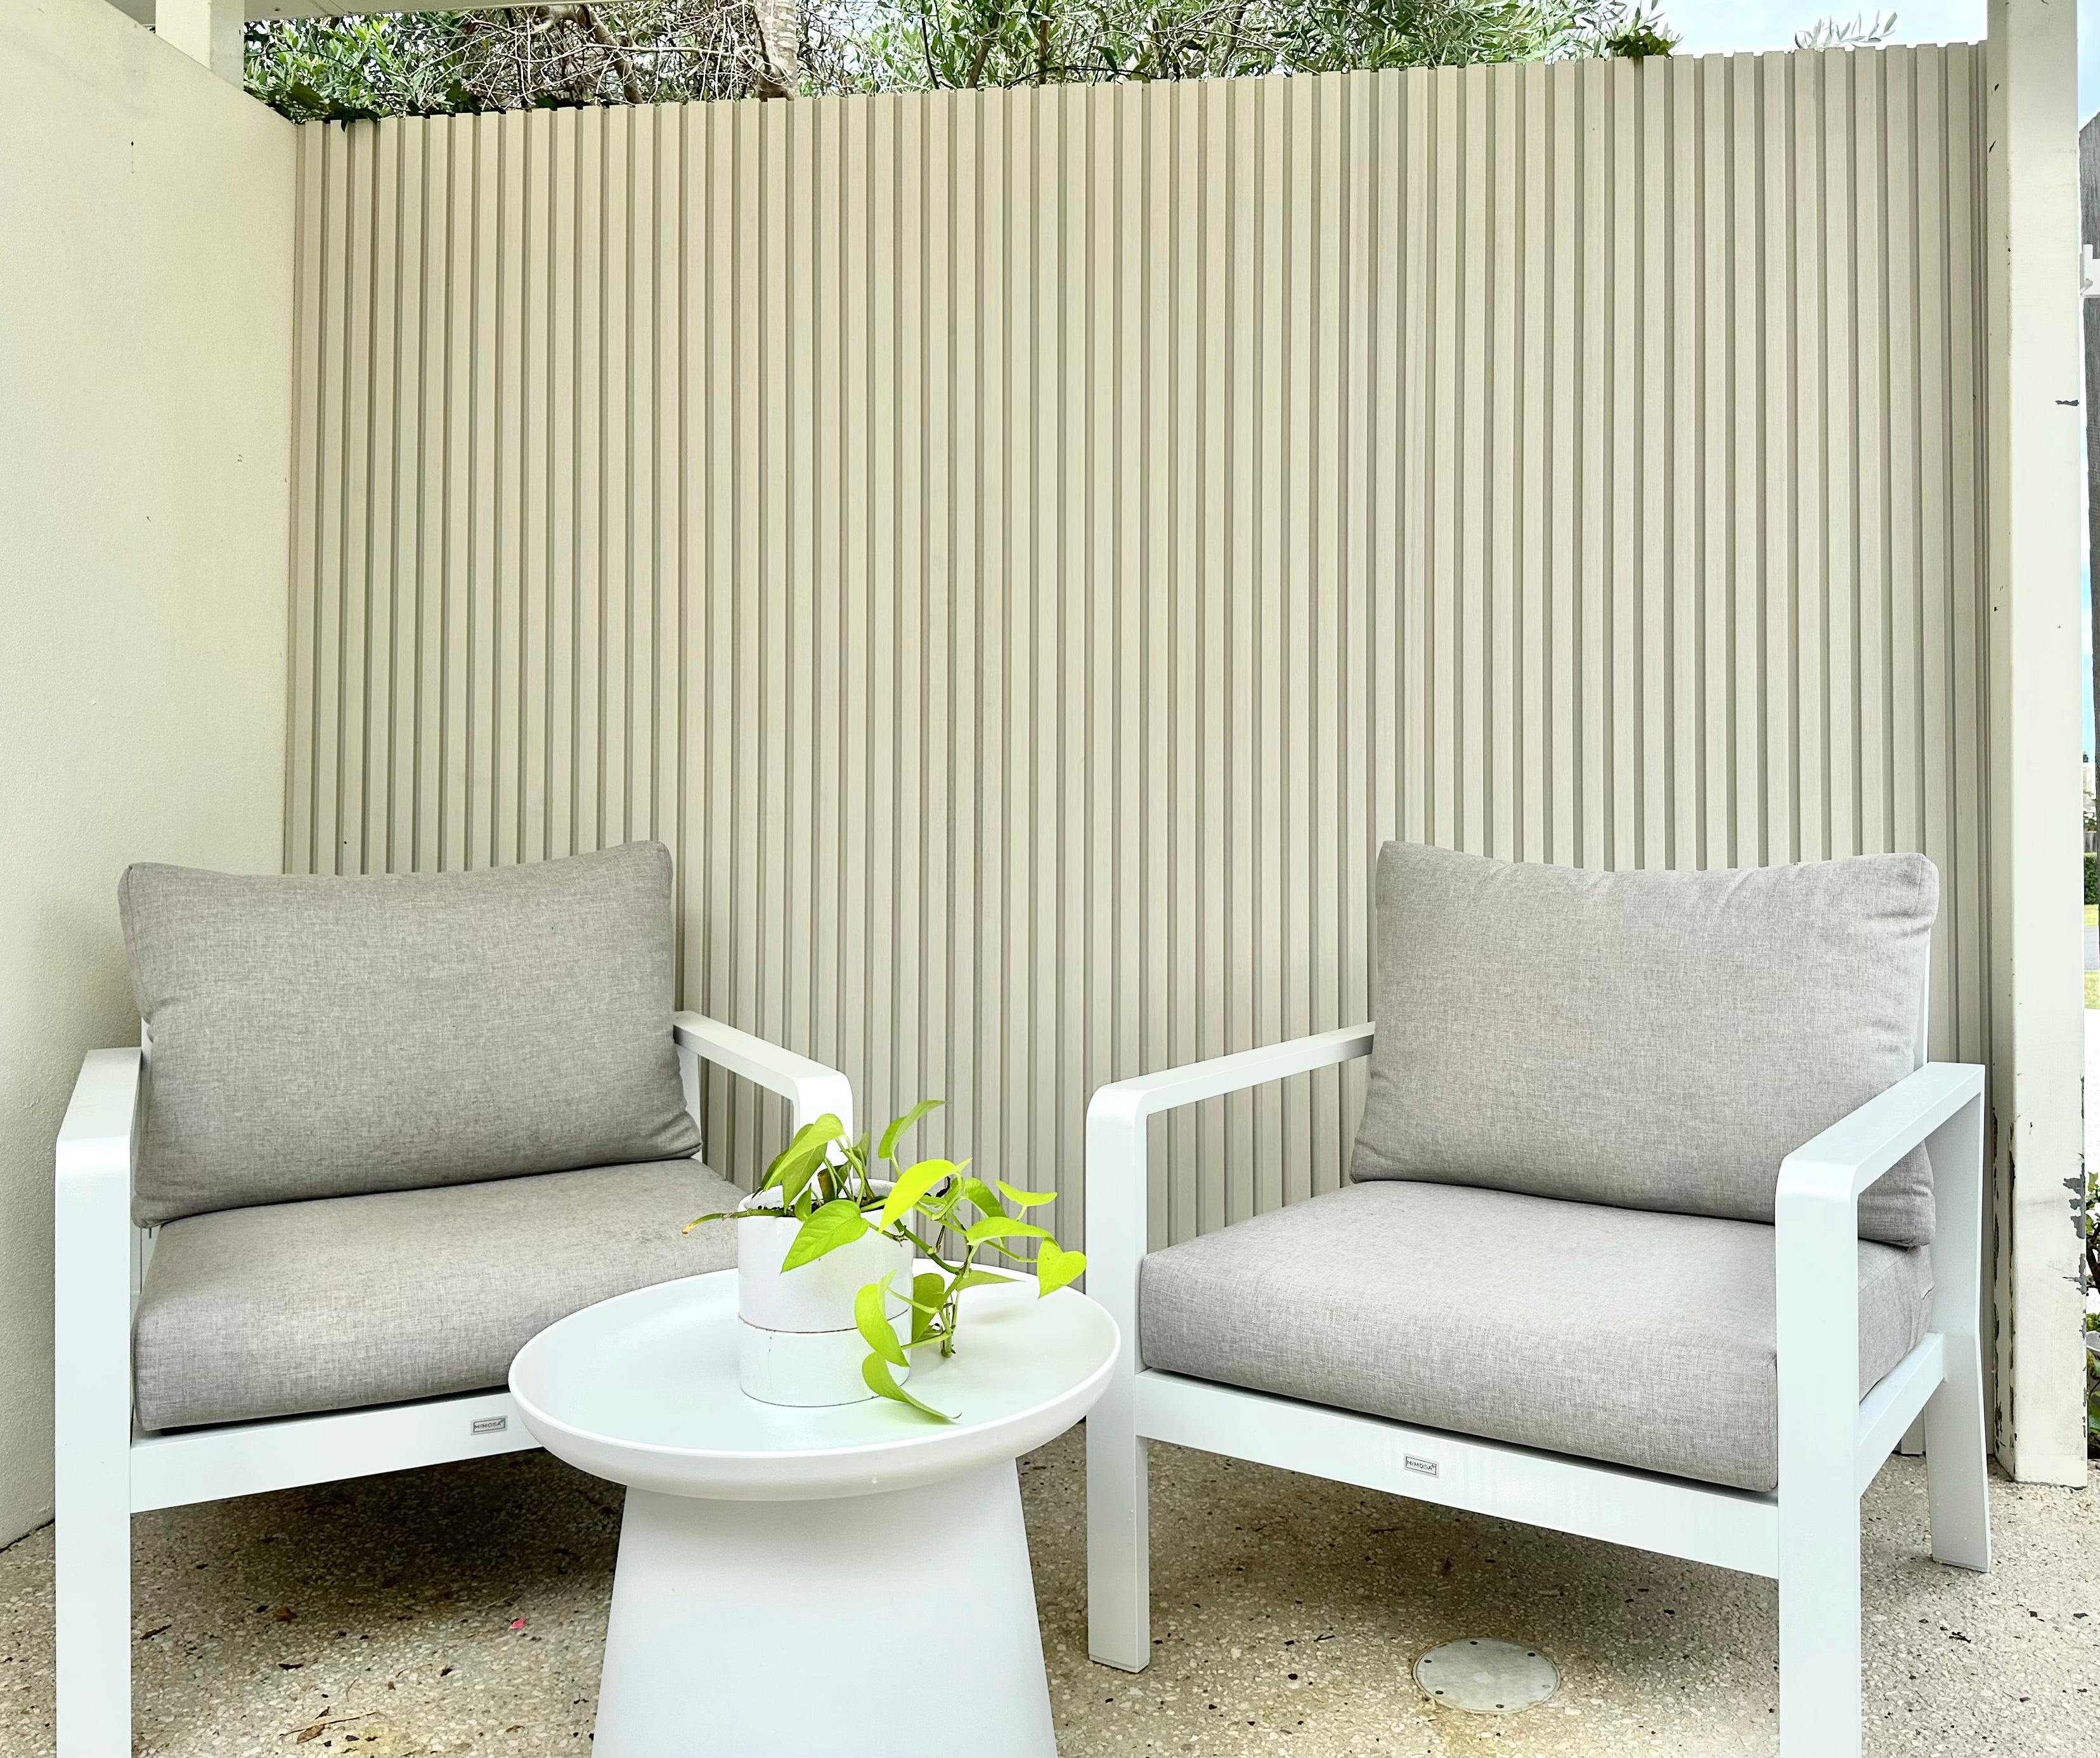
Luxpanels are the ideal DIY project, even for beginners. With our quick and easy installation guide, you'll be amazed at how effortlessly you can transform your outdoor space. Illuminate your outdoor areas with our weatherproof, durable and hard wearing outdoor panels.
To complete your outdoor panel install, you will need the following tools and equipment. See tools here.
HOT TIP For beginners, Use an adhesive and screw/s into the very first panel as this will set the straight edge for the job.
If you have limited access to tools or are short for time, we’ve got you covered! View our list for recommended installers here.
Locate Installer
Australia Wide Shipping

5% off first order

Shop Now, Pay Later with AfterPay or ZipPay
Australia Wide Shipping
5% off first order
Shop Now, Pay Later with AfterPay or ZipPay
Australia Wide Shipping
5% off first order
Shop Now, Pay Later with AfterPay or ZipPay
Australia Wide Shipping
5% off first order
Shop Now, Pay Later with AfterPay or ZipPay